
Light at the end of the tunnel! The gelcoat repair work has been quite a monotonous task. I quite enjoyed doing the flash lines and general polishing stuff since after a bit of practice I was starting to get a reasonable technique and a finish that i was quite happy with. The more complicated areas however proved to be a real challenge that I hadn’t been expecting. Areas of the gelcoat where quite thin and the glass strand/mat layers could be seen on the surface in some places, to make matters worse the thinnest area of gelcoat was right on the front of the car around the radiator opening in front of the bonnet. I sought advice down many avenues and the conclusion was pretty much all the same – that’s not gonna be easy to fix!…. and it wasn’t! One thing I now understand about gelcoat is it wasn’t designed to be used in air and especially not in very fine layers. Gelcoat is supposed to be laid up in a mould. The side that you eventually see is therefore immediately sealed from the air as it is applied to the mould. The opposite side (the open to the air side) is designed (chemically) to remain tacky or soft for a considerable time, this is to allow a chemical bond to take place between it and the following layups of gelcoat or resin and matts. Thus when you are using gel coat to do small thin cover up repairs it is technically not being used the way it was chemically engineered. The way to solve this is to cover up the repairs as you apply them with a thin polyester film, this works very well for very small spot repairs on flat or external curved areas but does not provide a solution for larger areas or internal radius areas. Flow coat can also be used since flow coat is essentially gelcoat with a bit of wax added. The wax is designed/intended to come to the surface during the set and form a seal from the air and thus allow the cure, however flow coat is again not suitable for very fine layer application. In the end after numerous attempts and almost giving up ( surrendering to a paint job) I found (actually it was Kevin’s idea) a technique that worked. A combination of help from an old friend, who is good with an airbrush,(thanks Kevin – I shall be buying that man a beer or two) and trusty old youtube where I found the best method of covering thinly applied layers of gelcoat – basically -Wait an hour then paint over with PVA. Kevin would paint over the repair areas with several very fine layers of acetone thinned gelcoat using an airbrush, this allowed the repair to sit very smooth and be feathered off at the edges which would mean minimal sanding afterwards(the minimal sanding is the essential bit to aim for). Then after approx an hour or once the coats had dried sufficiently to just quicky paint over the whole area with general duty PVA ( a water based adhesive widely available from any builders merchants, plasterers use it before skimming ceilings and walls to enhance the bond) but here its not being used to help with any bonding, its merely being used to completely seal the surface from the air which allows it to cure as if it were face down in a mould.. Then next morning the pva simply washes off with warm/hot water and light sanding can commence. (1200 or 1500 grit) before compound polish.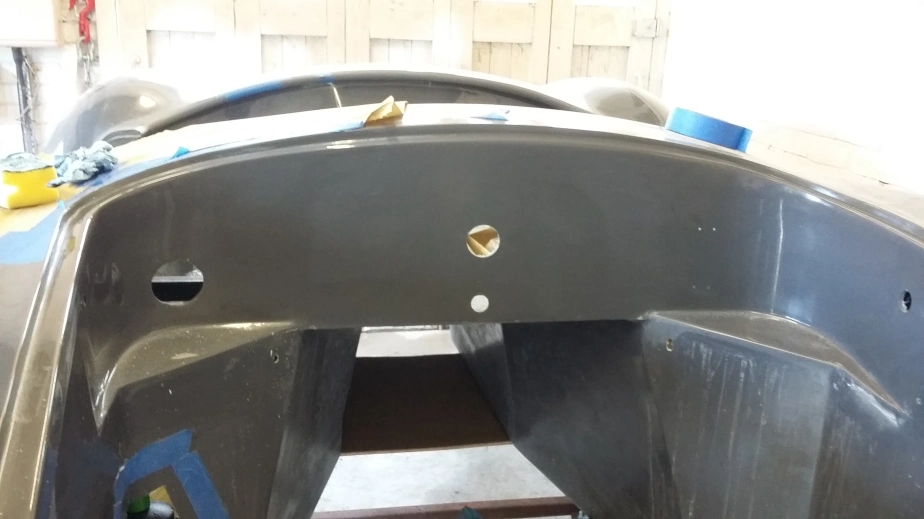
Used the same technique on the dreaded bulkhead.
At last now I can get on – the body under seal will be going on in the next few days and I can be planning the body on to chassis soon. Back to the real car building stuff hooray!

Just wondered, did you use Polyvinyl Acetate (builders glue) or the gel coat release agent Polyvinyl Alcohol (derivative of the acetate version) as I thought correct?
LikeLike
I used builders glue… I didn’t know about the alcohol derivative. I guess that would have been a better option, thanks Nigel.
LikeLike
Ok, that’s useful for me to know too. I start my build in November. Thx for reply.
LikeLike
This was unreservedly the worst part for me – I seemed to get stuck for ages on the bulkhead, followed closely by the door tops and other flash lines… but don’t despair its still do-able and others do not seem to have had the same issues as me.
Best Wishes with the start of your build!!
LikeLiked by 1 person